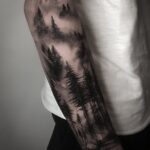
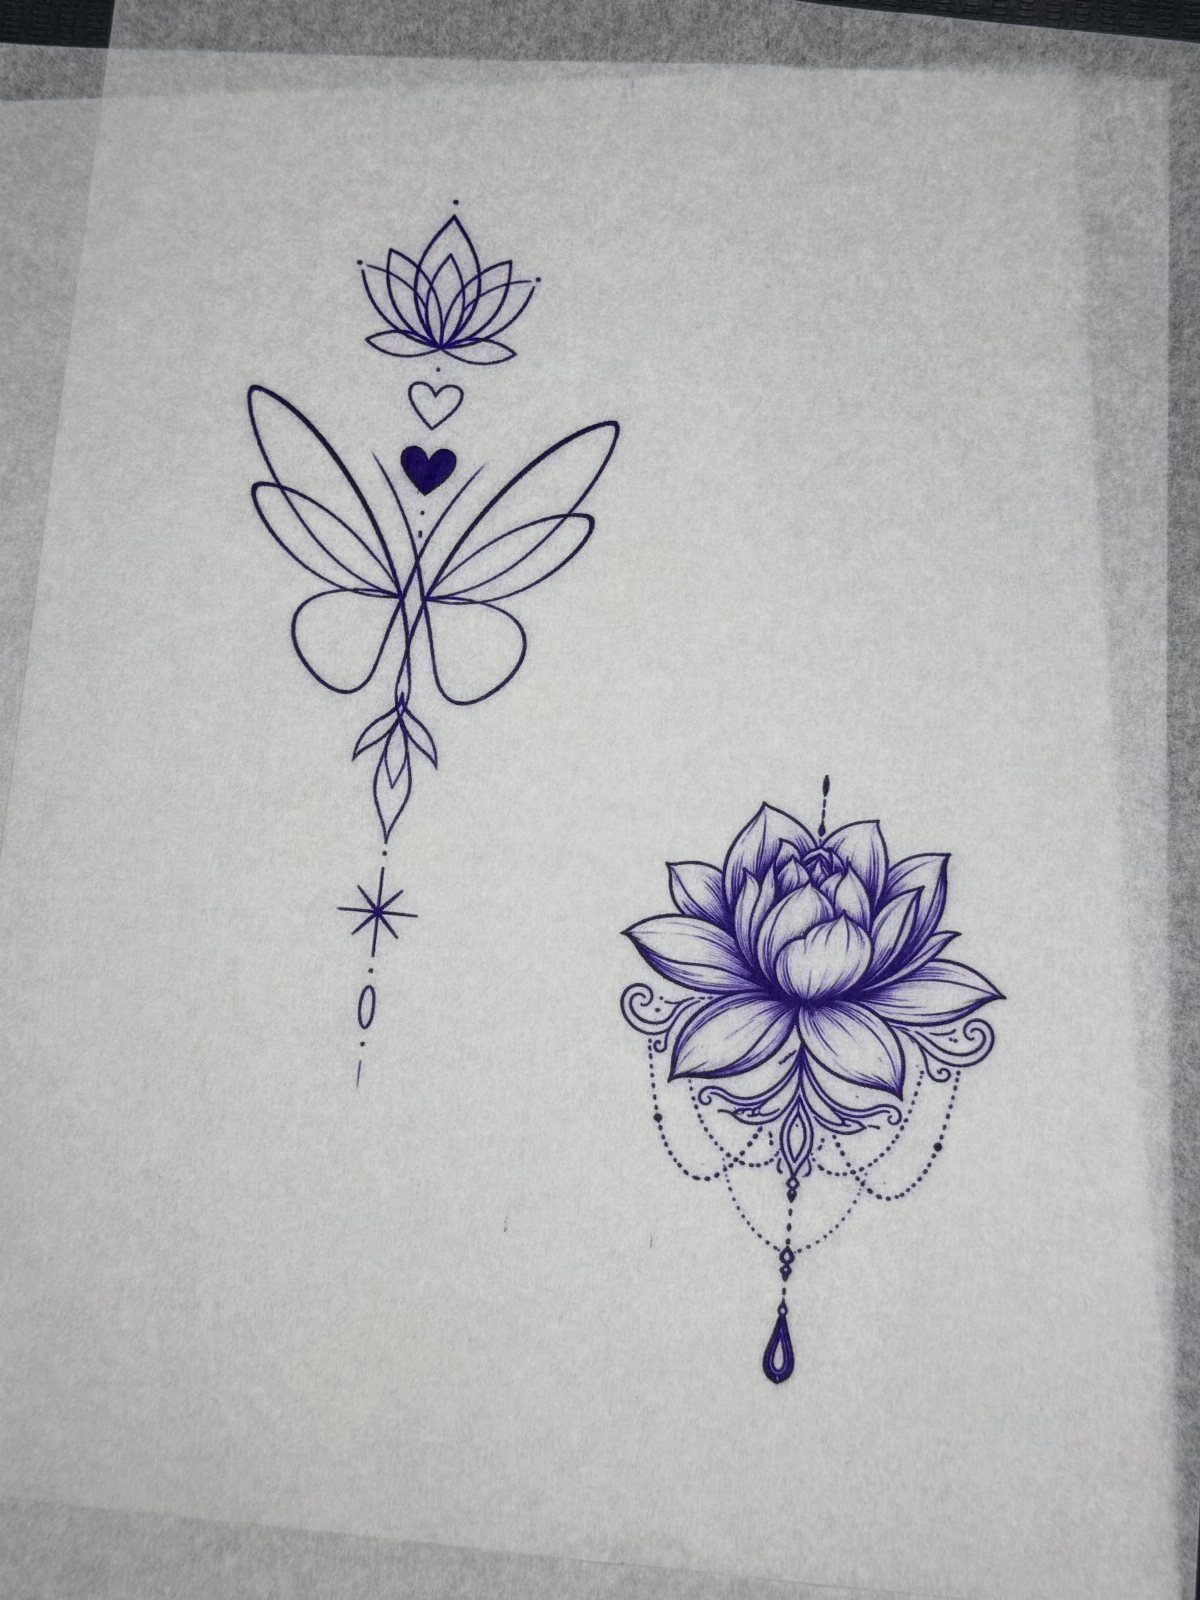
Stencil tattoo ideas run from a single anchor outline you can transfer in minutes to a full classical religious figure that takes multiple sessions and demands flat placement to keep perspective intact.
What separates one from another is where you are in your own line control: beginners need bold silhouettes that forgive slight wobble, while experienced hands handle the thorny filigree where a single smudged transfer costs irrecoverable correction time.
A gothic filigree portrait can take so long to outline that the stencil fades before you finish, which is why I refresh the transfer instead of guessing where a thorn met a chain.
[link-whisper-related-posts]1. Printable Tattoo Stencil on Transfer Paper
Printable tattoo stencils on transfer paper let you test size and placement before the needle touches skin.
I print roses, simple symbols, or botanical stems onto transfer paper at home, then hold the sheet against my arm or leg to see how the scale reads on my actual body.
The stencil gives only the outline; shading and tonal gradation get added freehand during the session itself. For practice on fake skin, standard transfer paper works fine without the expensive primers artists use on human skin.

Spooky Skeleton Face Tattoo: Transform your Halloween look with our realistic skeleton face tattoos. Perfect for any Halloween costume, these skull face tattoos are ideal for those wanting to make a bold, spooky statement.

153 PCS Halloween Face Paint Stencil Set: Featuring 12 sheets (4 unique spooky colors with 3 sheets each), totaling 153 intricate designs. Dive into the spirit of the season with a massive variety of Halloween icons including Jack-o'-lanterns, wicked witches, spooky skeletons, crawling spiders, bats, ghosts, haunted castles, evil eyes, and more. With so many options, you'll have the perfect pattern for every eerie look and creative idea

171 PCS Different Styles Halloween Tattoos Stencil: Our hallloween temporary tattoo stencils sheet comes with 171 different hallloween design such as pumpkin lamps, black cats, skulls, wizards, witch hats, ghoost, witch, Spider Web, Skeleton more halloween Style in 12 sheets A5 size. Perfect for couple halloween party and decoration.
2. Geometric Tattoo Stencil Designs
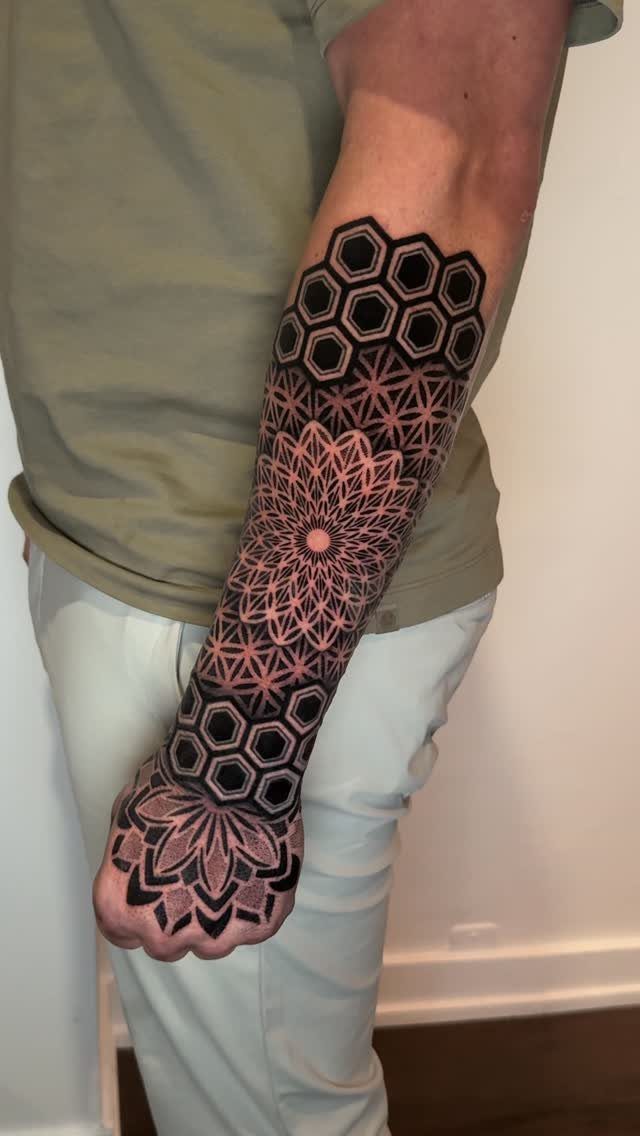
Sacred geometry demands mathematical precision that hand-tracing rarely achieves.
A forearm piece this dense took the artist 3 sessions, and the flower of life stencil had to be dead-on from the first transfer; any angle or symmetry that was off would have shown up as a flaw the needle could not fix.
Vector-based design software is the practical move here. Mandalas, hexagon grids, and dotwork circles all fall into this category, and digital preparation saves hours of correction later.

【Sacred Geometry Stencils Set Includes】: You will receive 8 pieces Geometry Textures stencils totally,crafts each one has different patterns,each measuring 8×8 inch, providing you with a generous quantity to meet the needs of your DIY arts.

Geometry Stencils:Patterns including Hexagon Mandala,The Sri Yantra Torus,Sri Chakra Mandala Circle,The Flower of Life,the seed of lift,etc.The stencils for wall are designed to bring you the feel of Meditation and Mindfullness.

Package Includes:8pcs Sacred Geometry stencils for painting,each stencil measures 8x8inch.
3. Skull Tattoo Stencil Designs
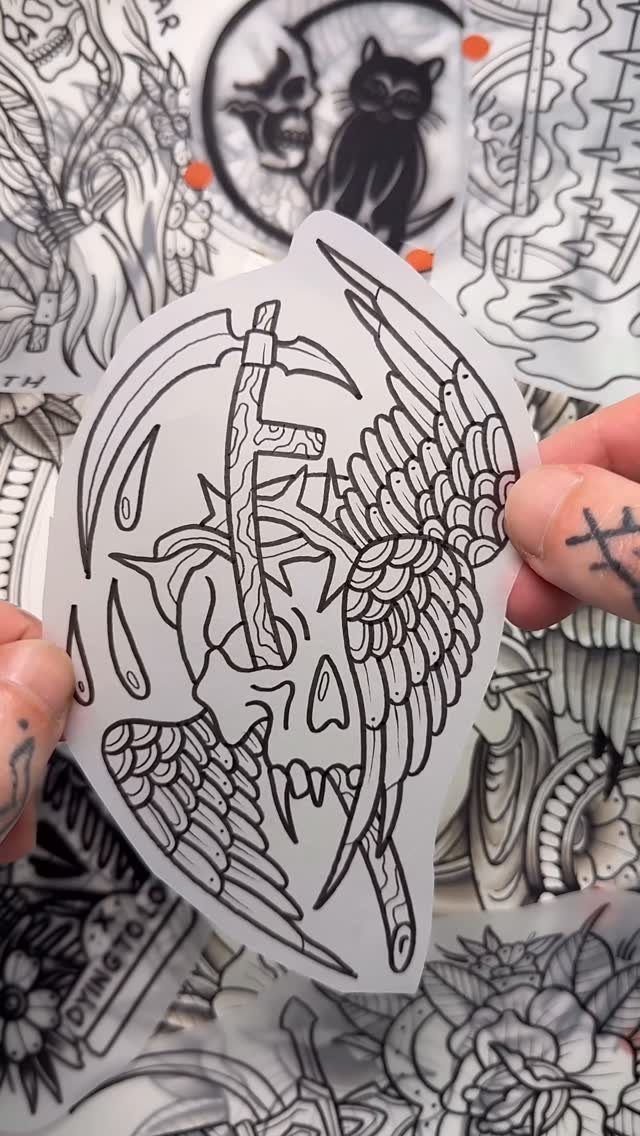
Skull stencils work as focal points or sleeve filler because the silhouette reads clearly even at small scale. The bold outline structure transfers reliably, and the form stays recognizable across traditional, neotraditional, blackwork, and illustrative styles.
A winged skull needs room for the negative space to breathe, so I would place it on the chest or thigh rather than squeezing it somewhere tight.
For beginners, the strong outline makes the stencil easy to follow during tattooing, and the healed result stays readable for years.


4. Blackwork and Outline Tattoo Stencils
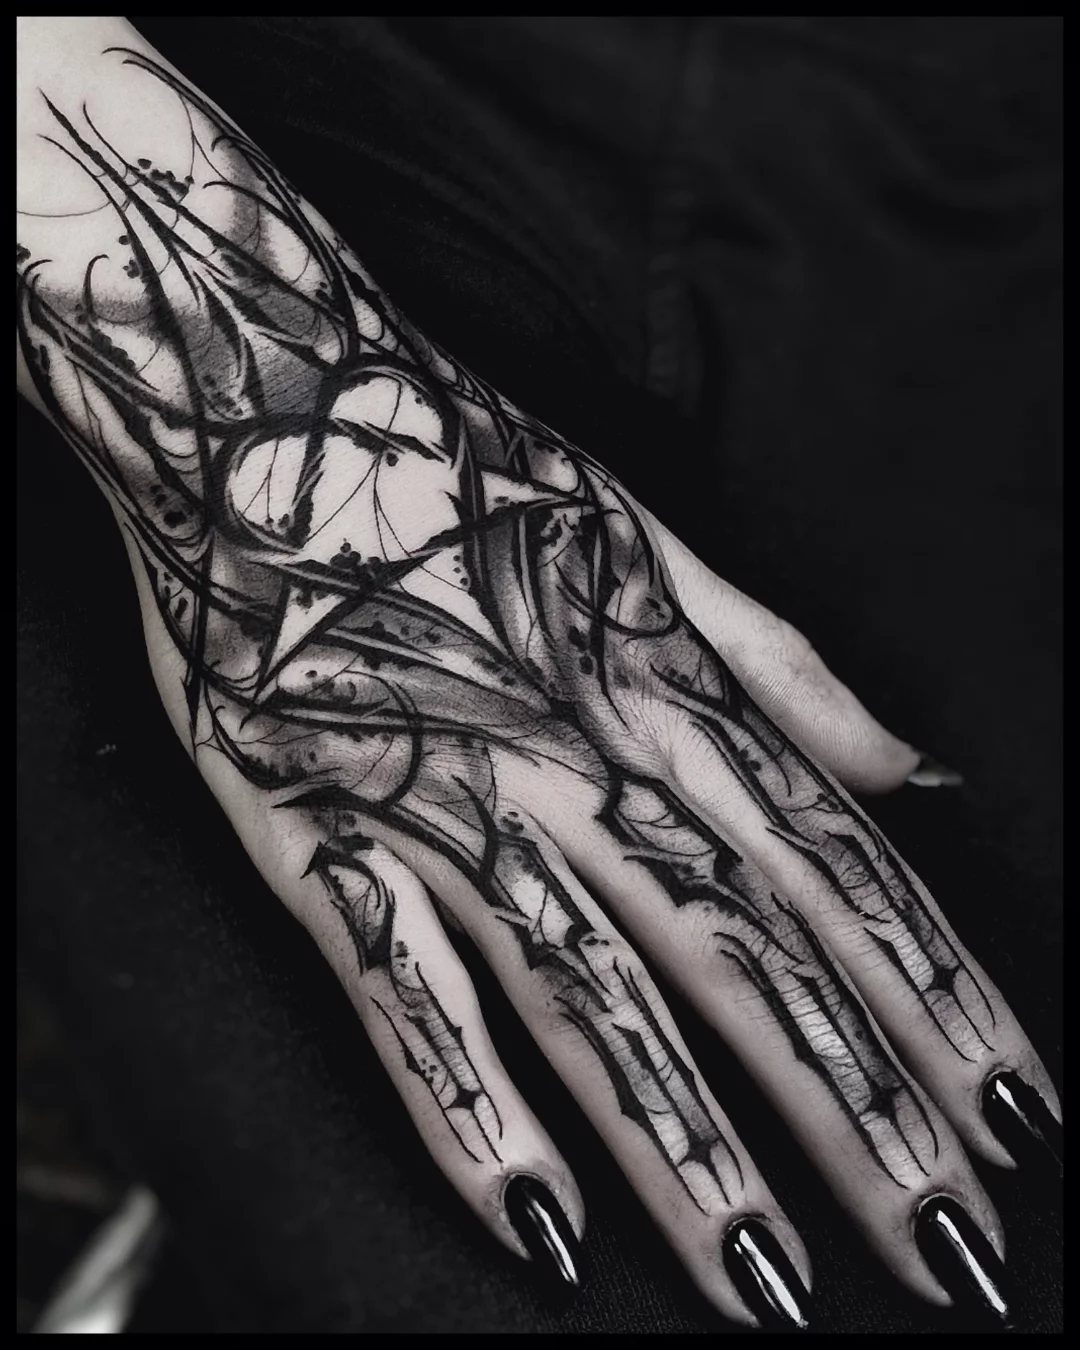
Blackwork stencils leave almost no room for adjustment once the session starts. The artist tattoos directly to the stencil line for solid fills and high-contrast negative space, so the structural preparation has to be precise from the transfer.
Clean, jagged, or flowing abstract lines heal into something that reads like a graphic poster, which is why I look for that quality in a hand piece.
Bold outline designs suit anyone who wants the tattoo to read clearly from across a room, though the heavy ink load means longer sessions and more attention to aftercare.

Precision Transfers & Long Lasting: Tattoo stencil paper delivers vibrant, high-definition transfers even for intricate designs. Creates crisp, dark lines that transfer cleanly to skin (clearly on different skin tones) which are easy to follow during tattooing. The carbon layer made from high-quality dyes ensures sharp outlines without smudging or fading and maintains crisp lines visibility throughout long tattoo sessions, so you can focus on creating art instead of re-drawing lines

Precision Transfer Performance - It’s professional-grade tattoo stencil paper delivers vibrant, high-definition transfers even for intricate designs. The carbon layer ensures sharp outlines without smudging or fading, ensuring crisp lines that stay true to your original artwork.
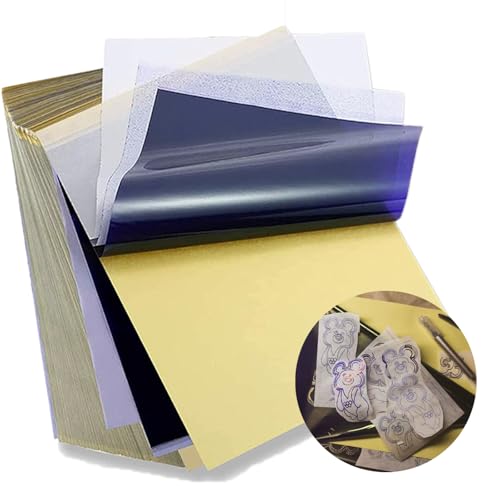
Standard size: Tattoo Transfer Paper is standard A4 paper size, each measures 8.27 in X 11.69 in. There are 4 levels in total. The thickness of the paper is very light and smooth to the touch.
5. Anchor Nautical Tattoo Stencils
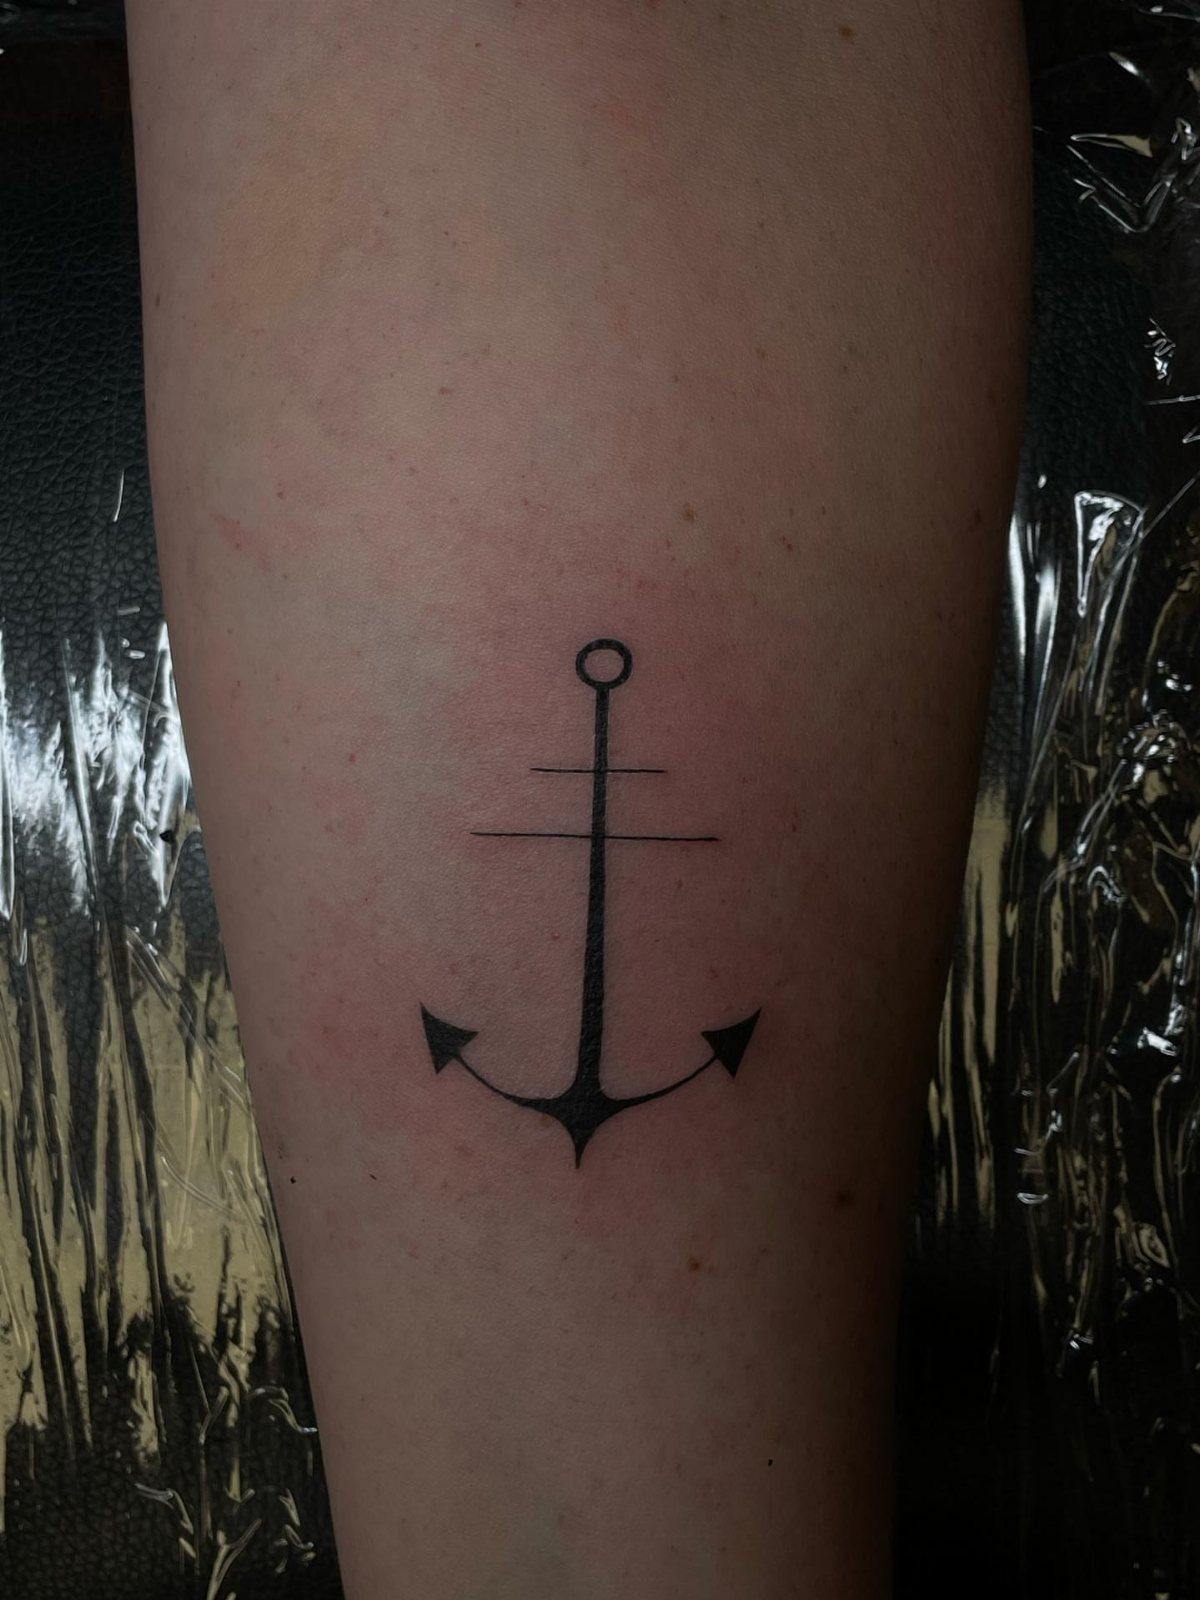
Anchor designs carry the straightforward outline structure that beginners handle best. The nautical motif sits naturally on a forearm or calf, and the simple silhouette heals cleanly with little risk of the detail blurring that complex stencils suffer over time.
Traditional tattoo culture kept anchors in rotation for exactly this reason: the shape is bold, the meaning is clear, and the stencil transfers without fuss.
I would choose this for a first tattoo or for practice on fake skin, where the clean edges let you focus on line quality rather than shading technique.

About the Stencil: You will receive 2 pieces architecture and local themes gothic windows pattern stencil and 1 piece plastic paint brush. Size: Painting Stencils: about 300mm/11.8inch wide, 300mm/11.8inch long, Plastic Paint Brush: 16x0.7x0.5cm/6.3x0.28x0.2inch.

【 575+ Fun Assorted Tattoo Stencils 】-The ChurlChurl tattoo stencils collection includes 575 high quality stencils with multiple themes. enjoy cute trendy tattoo stencil designs like butterflies, words, flowers, symbols, totem, Egypt style patterns and more.

▶ Henna Tattoo Kit: 16 sheets tattoo stencils. airbrush tattoo stencils suitable for tattoo lovers. Experience the effects of tattooing without the pain of tattooing.
6. Leaf Design Tattoo Stencils
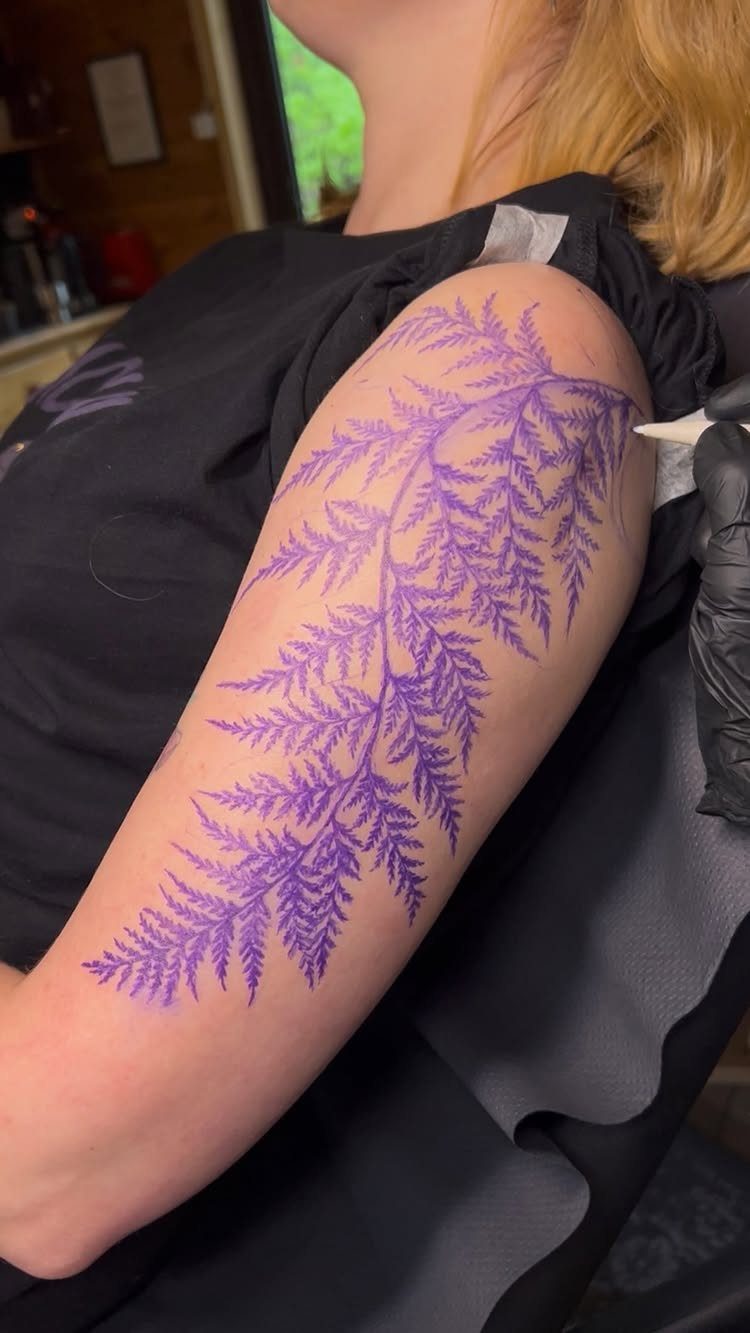
Fern leaf stencils suit nature-themed sleeves or standalone pieces on the upper arm, where the frond shape can follow the muscle line.
Purple transfer ink sits on the skin while the artist marks adjustments with a white pen, and that step matters more with organic shapes than with geometric ones where the math does the talking.
Leaves work as repeated patterns or single stems, and the simple outline produces tattoos that age well. For beginners, botanical stencils are forgiving; the slight irregularities in a real leaf look intentional, whereas a skewed mandala reads as a mistake.

The Skull Mouth Stencil stretches out past your lips to the jaw to create more realistic teeth for your skull makeup look. This skeleton teeth stencil makes drawing your skull teeth easier, just blacken your eye sockets and nose for the full skull face. 🇺🇸MADE IN USA
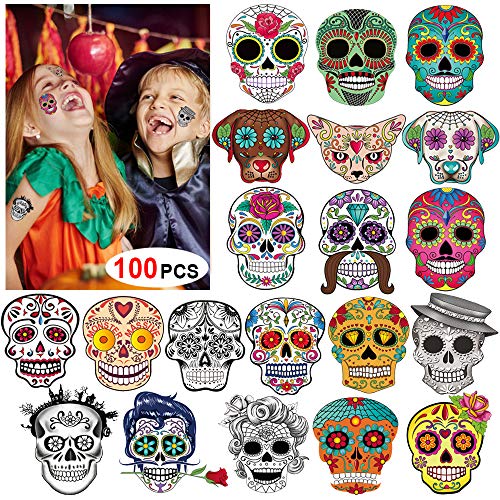
You will receive 25 sheets totally 100pcs in 20 different designs day of the dead skeleton face temporary tattoo face kit, black white blue pink brown gold silver fluorescence multicolor apply in to create more interesting experiences and celebrate life! each pattern measures 4.6*4.6cm/ 1.82*1.82inch , one size fit all girls boys kids Women Men Adult and Kids

Halloween Skeleton Makeup: Classic skull makeup temporary tattoo set including 2pcs glow in the dark skeleton hand tattoo, 2pcs skeleton face tattoo and 2 collarbone temporary tattoo sticker. [Tips: Only skeleton hand tattoo glow in the dark.]
7. Mystical Tattoo Stencils
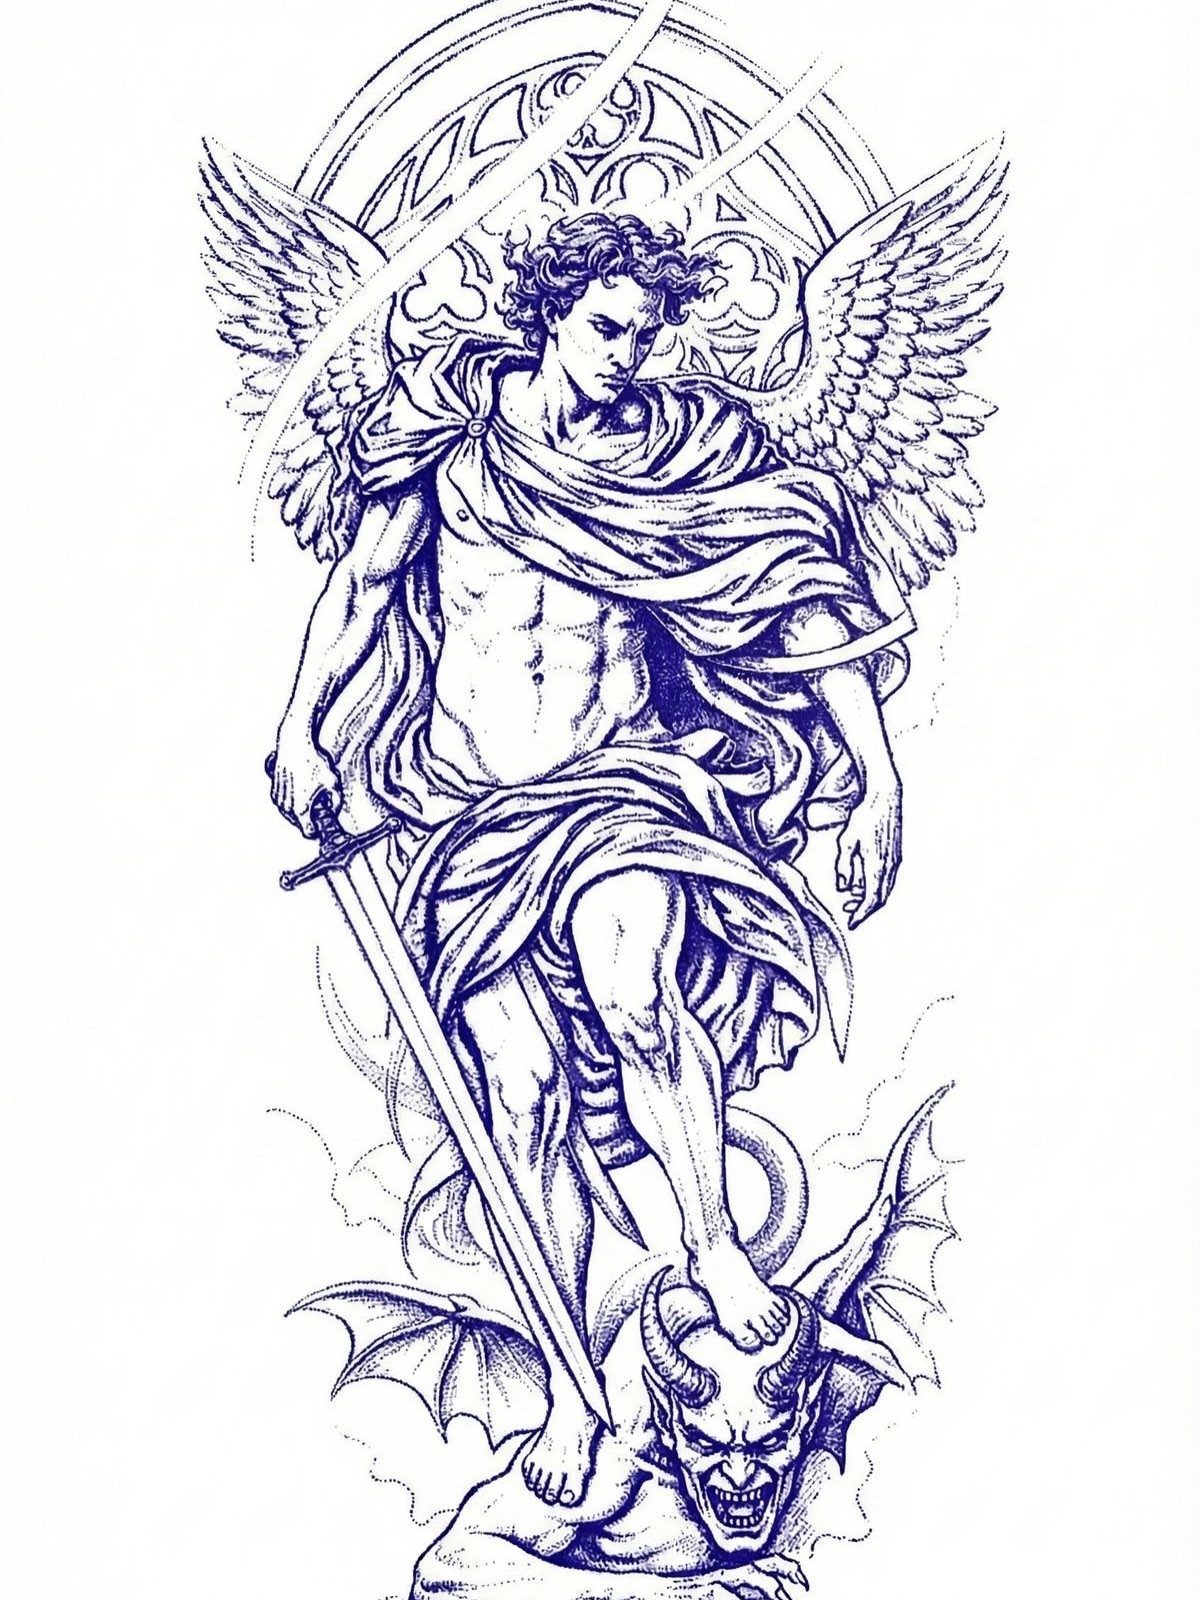
Mystical stencils carry angelic or demonic imagery that demands precision in the transfer, because the symbolic weight only lands if the figure reads clearly.
The arched gothic framing in this style works best on flat areas like the thigh or outer calf where the full composition stays intact.
Simple line weight and adequate negative space keep these designs readable as they age.
I would check that the sword, wings, and figure proportions transfer at actual size before the session starts; spiritual imagery that skews during stencil application loses the impact that makes the piece worth wearing.

Package Contains: one set of 12 pcs Sacred Geometry Stencils. The size of the Yoga stencils: 10"x10". Different patterns that combine with many Meditation elements including Om Sacred Lotus, Chakra, the flower of Life, Mandala, Hamsa Hand, Metatron's Cube, and Sun Moon,etc. bring you many DIY ideas which will add good vibes and positive energy to the objects you decorate.

Intricate Sacred Geometry Design: This reusable stencil features a beautiful collection of geometric patterns, including triangles, circles, and captivating designs of the sun, moon, and eye. Perfect for those who appreciate spirituality and artistic expression, it allows you to create stunning decorations for clothing, home decor, and more.

8. Abstract Tattoo Stencils
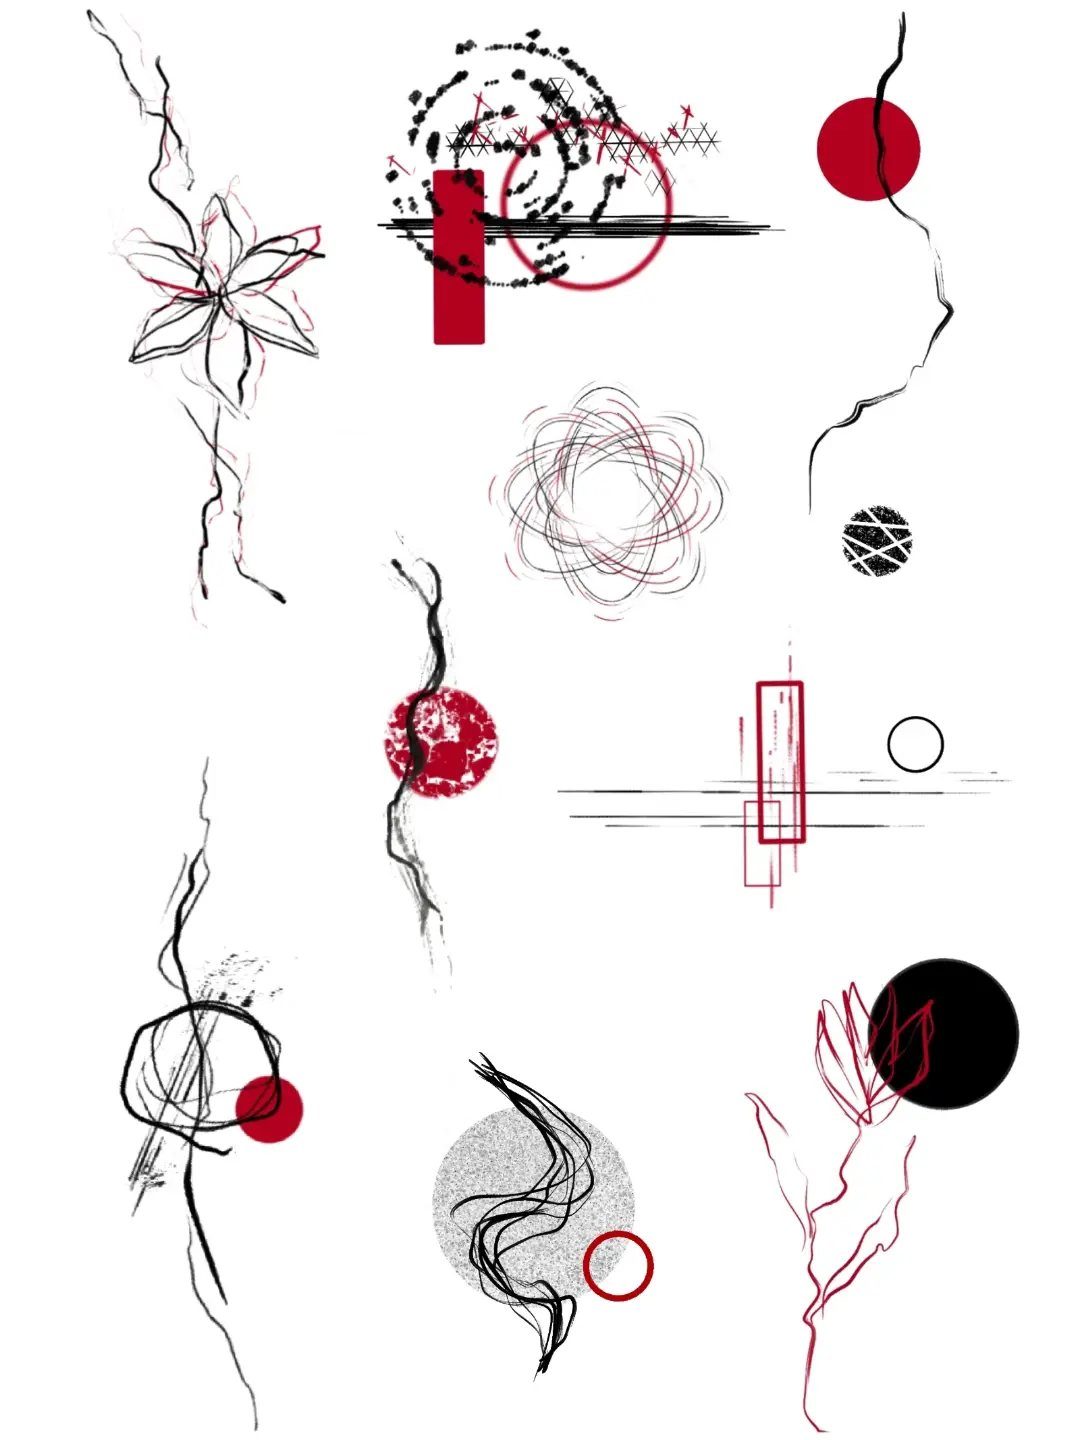
Abstract stencils trade recognizable subjects for pure form, which sounds freeing until you realize the composition has to hold together without any figure to rescue it.
Black lines paired with red geometric accents create contrast that carries the design, but the balance is harder to judge on paper than in skin.
I would print this at several scales and hold each against the intended placement; an abstract piece that reads as intentional at one size can look accidental at another.
For beginners, the lack of a reference object is actually a gift.
Slight wobbles in freehand curves pass as part of the style, whereas a crooked anchor or skewed skull announces itself immediately. Standard transfer paper on fake skin lets you test whether your line confidence matches the design’s demands.


9. Cursive Script Lettering Stencils
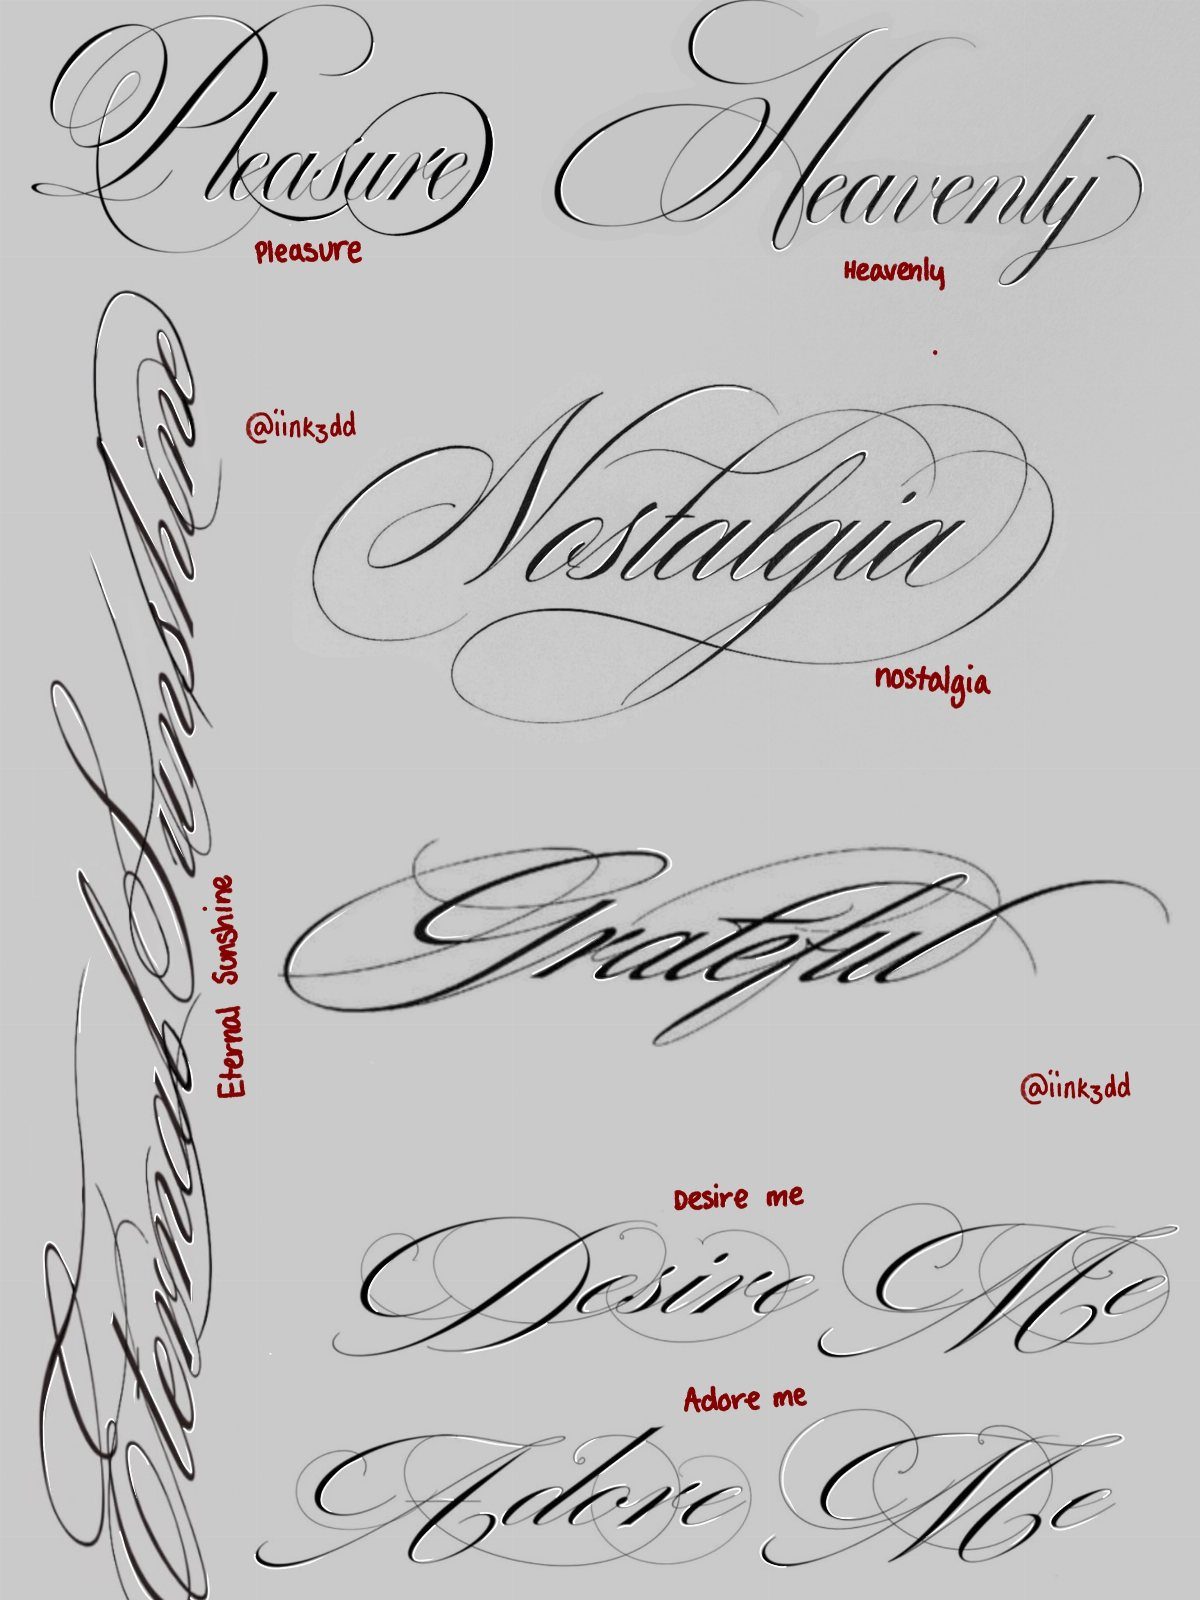
Cursive script lives or dies on consistent flow and even spacing, which makes the stencil stage non-negotiable. Words like "Nostalgia" or "Grateful" carry emotional weight that turns embarrassing if a letter loops too tight or a connector skips.
I would trace the full phrase at least twice on paper before committing to transfer paper, checking that ascenders and descenders do not collide.
Lettering stencils suit ribs, forearms, or collarbone placement where the line can run uninterrupted; wrapping text around a curved area multiplies the transfer difficulty fast. For practice, single words on fake skin build the hand control that longer phrases require.

Warm Tips: The tattoo transfer paper need to work with transfer medias.You will need to purchase the stencil ointment separately. Apply the design made on the master paper. Please pay attention to press the back side of the pattern to the skin for at least 3 seconds

Phomemo Tattoo Transfer Paper Kit: Paper size: 8.27" 11.69" (210 297 mm). Quantity: 1 box (100 sheets). Color: Blue. This Tattoo Stencil Paper features a dotted line design, allowing for easy tearing without tools. Tear off the master design and yellow backing sheet effortlessly for a smooth tattooing experience. This product is suitable for tattoo enthusiasts, artists, and professional tattoo artists, offering reliability and consistency in tattoo stencil creation

【100pcs Tattoo Stencil Paper Kit】Tattoo Stencil Paper kit come with 100 sheets tattoo stencil paper. 4 Layers of transfer paper includes the master sheet, transparant protective sheet, blue carbon sheet and yellow backing sheet, size approx. 8 1/4" x 11 3/4" which can be cut down into smaller sheets for more use.
10. Butterfly and Moon Phase Stencil
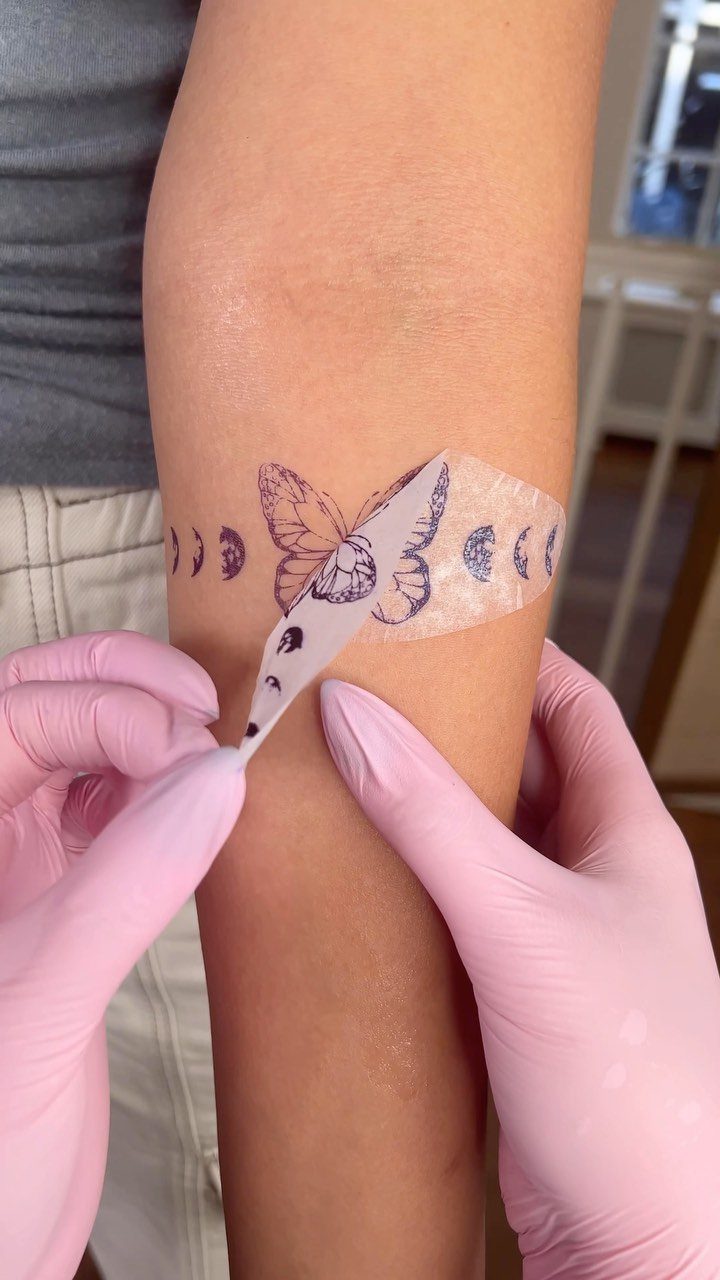
Butterfly and moon phase combinations pair 2 motifs that each read well small, but the real test is the gap between them.
The stencil shows the transfer paper being peeled to reveal the purple ink underneath, which means the artist already checked alignment before removal.
I would measure the distance from the butterfly’s wing tip to the nearest moon phase twice; too tight and the 2 motifs merge visually, too loose and they read as separate tattoos that happened to land nearby.
This design suits the upper arm or shoulder where the natural curve can carry the horizontal spread.
Standard transfer paper works for practice on fake skin, though human skin needs the higher-quality primer to keep the purple guide visible through a longer session.

⯁ 400+ Reusable Henna Stencils: Get 24 sheets of high-quality, self-adhesive hollow templates featuring over 400 unique patterns. These temporary tattoo stencils allow you to create stunning body art including mandalas, butterflies, and dragons. Perfect for practicing techniques without permanence
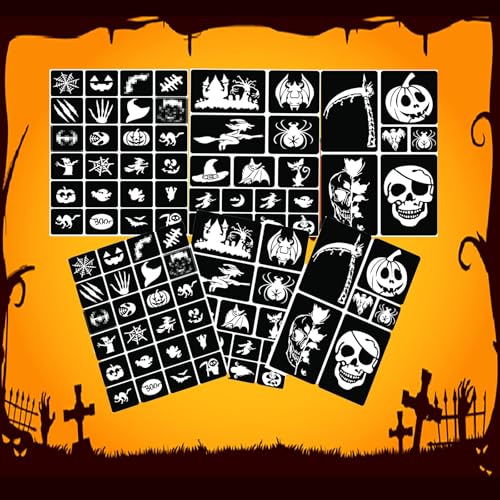
Package Included: 6 Sheets of two same sets of Halloween airbrush tattoo stencils, one set of 45 different patterns and 90 patterns in total, almost unlimited creative combinations and options to meet your need. Only has tattoo template, no tattoo ink

Package Includes: You will receive 20 sheets reusable tattoo stencils, enough quantity to meet your daily requirements. The mehndi stencils are suitable for airbrush painting, glitter tattoo, and so on.
11. Classical Religious Figures Stencil
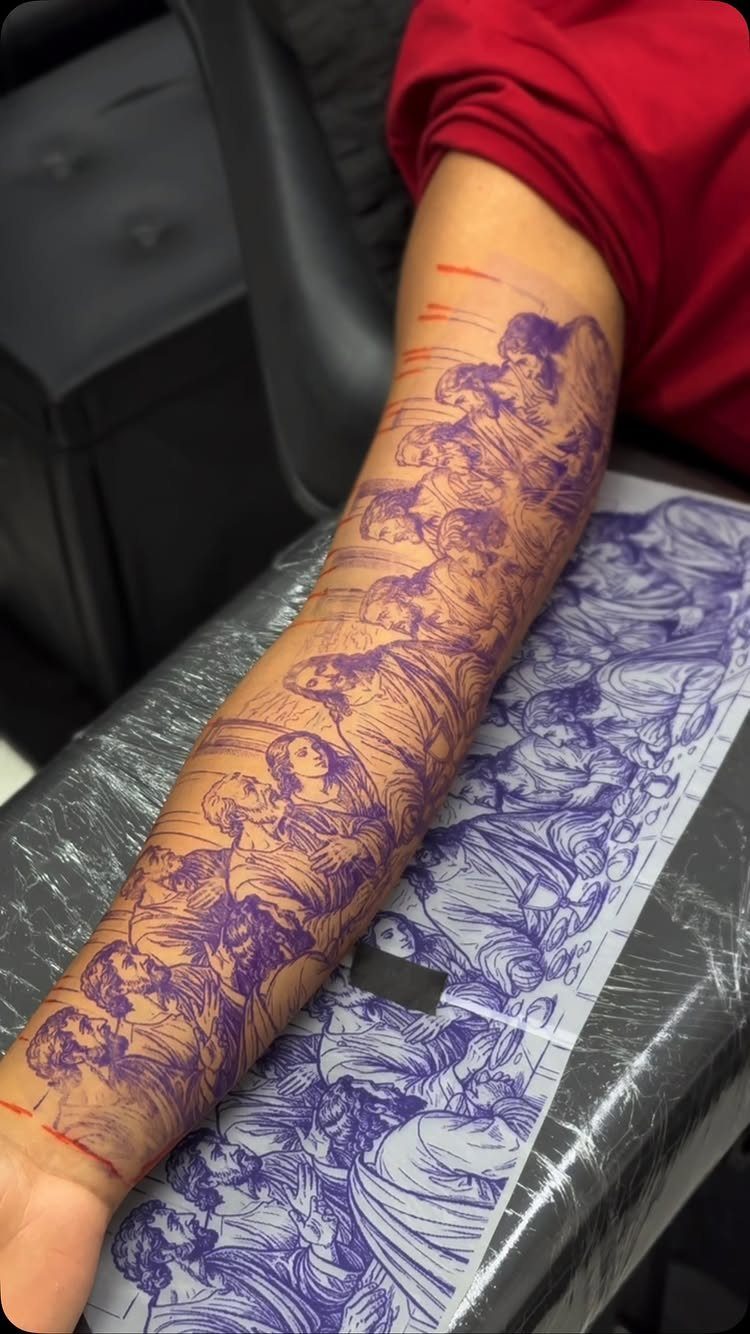
A full Last Supper scene on a forearm stencil compresses serious narrative density into limited real estate, which only works if every figure remains identifiable at reduced scale.
The purple transfer ink sitting beside the printed reference sheet shows the artist checked the composition before application; I would do the same, comparing the stencil directly to the source image for any loss of detail in the reduction.
This scale of classical religious imagery demands flat placement.
The inner forearm works because the skin stays relatively stable, but a bicep or calf that flexes and shifts would distort the table perspective. A stencil this detailed requires the longer session and steadier hand that experience provides.
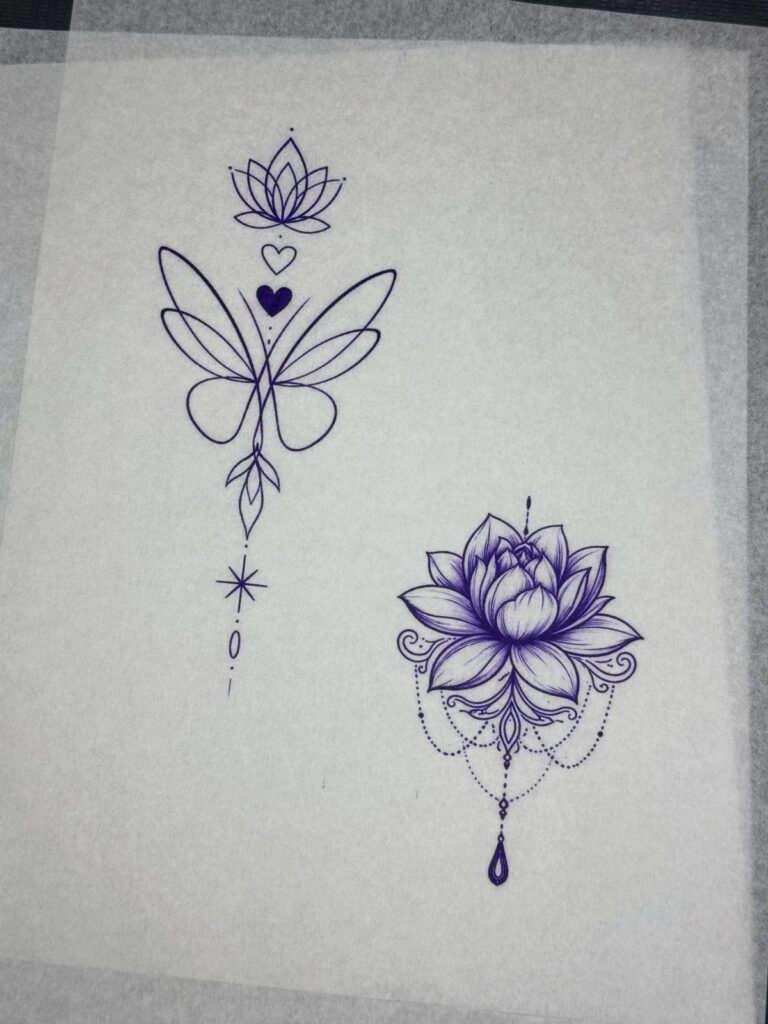
12. Floral and Scrollwork Flash Sheets
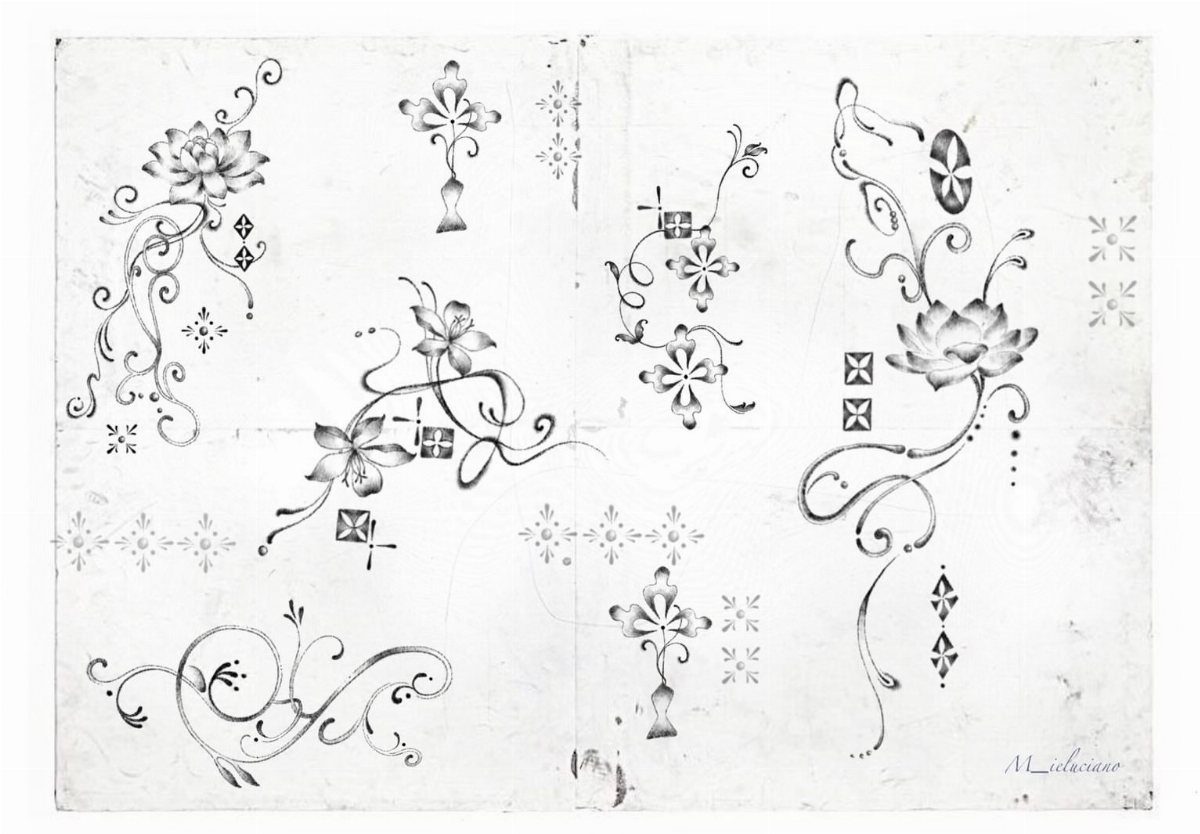
Flash sheets collect multiple designs on one page so clients can browse and artists can adapt, a studio practice that predates custom-drawing every appointment.
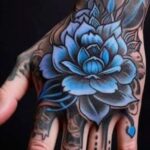
The lotus, lily, and scrollwork accents here stay delicate rather than bold, which changes how the stencil behaves.
Fine lines transfer more fragilely than heavy outlines, so I would handle the paper carefully and check that the printer resolution matches the detail weight.
These floral and scrollwork patterns suit filler between larger pieces or as standalone smaller tattoos on the wrist or ankle.
The geometric symbols mixed in offer anchor points that break up organic flow with structural contrast. For practice, single elements cut from the sheet let you test line quality without committing the full page to one placement.
13. Multi-Design Flash Stencil Sheet
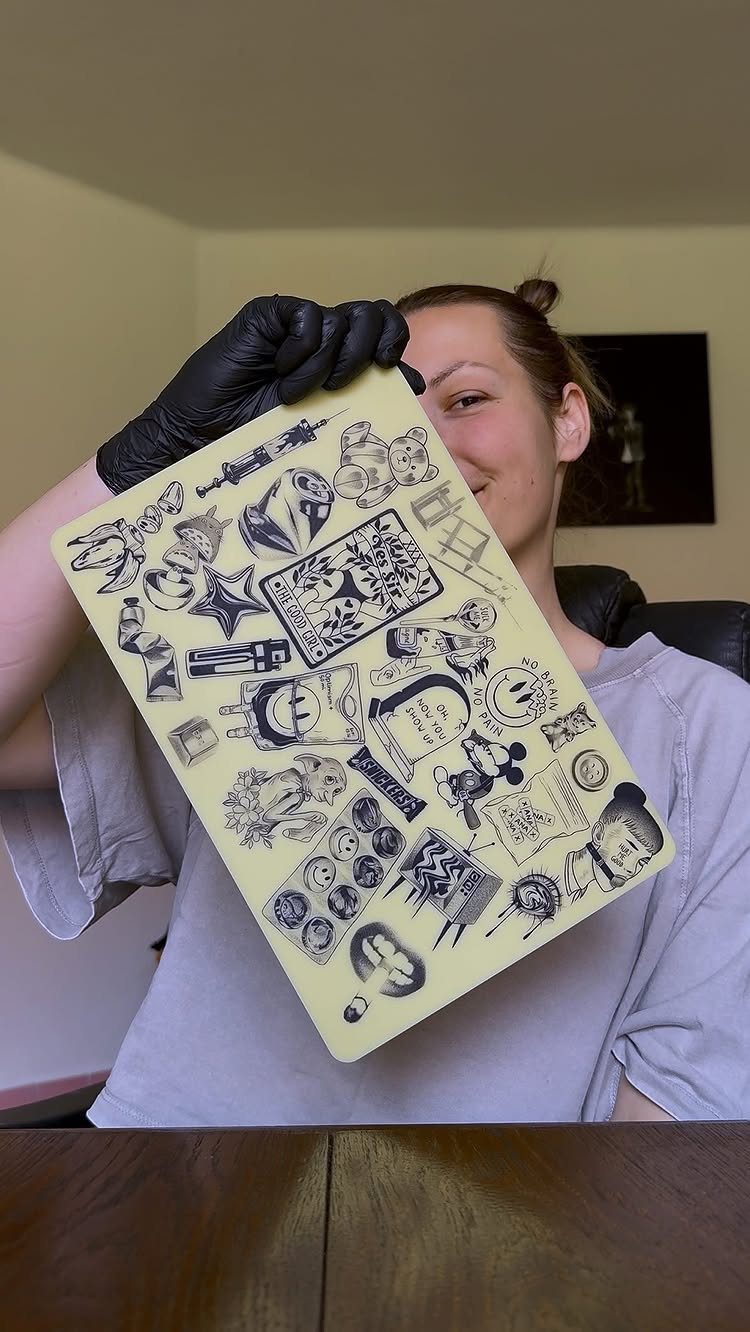
Flash sheets put a dozen designs on one page so a client can point and an artist can start, a studio habit that goes back more than a century.
The format stretches far beyond the traditional anchors and swallows that built it, and modern flash sheets carry cartoon characters, pop culture figures, and brand logos alongside the classics.
I would cut individual designs from the sheet with a margin of blank paper left around each; that border protects the stencil edge from crumpling during transfer and gives you room to tape it flat.
These smaller pieces suit building line confidence on fake skin before you move to larger custom work that has to flow with muscle shape.
14. Gothic Filigree Portrait Drawing
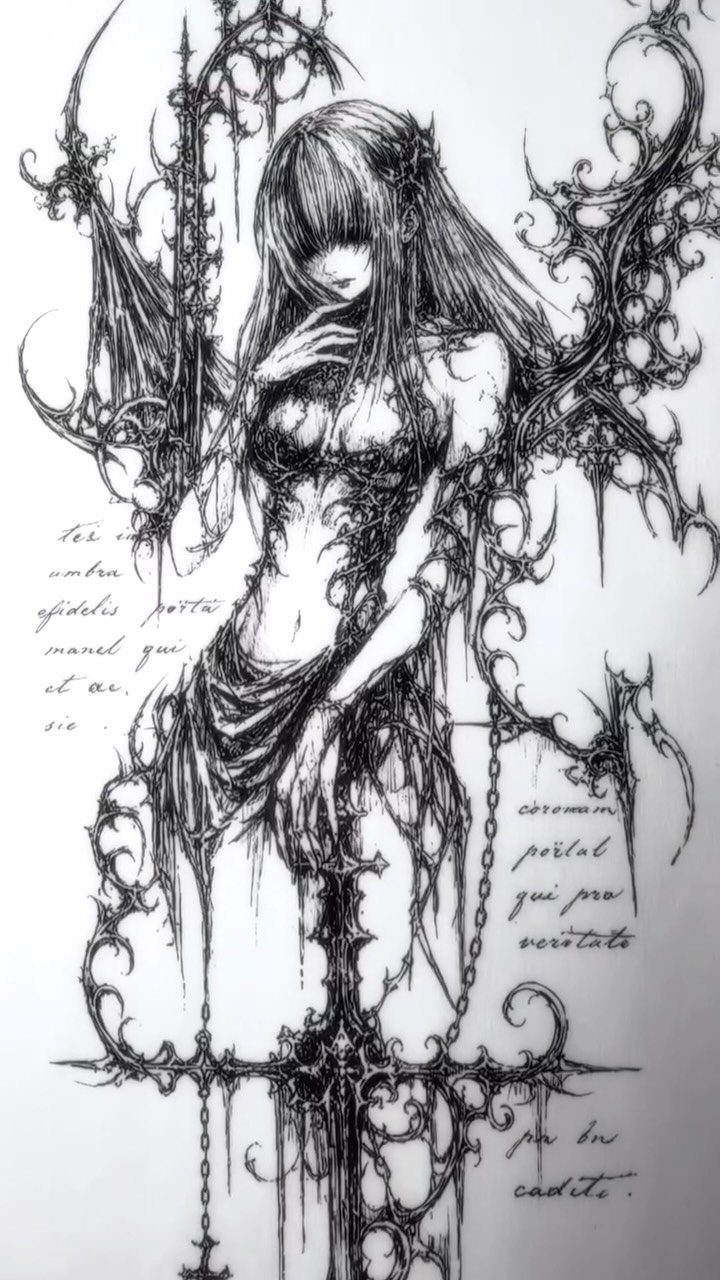
Gothic filigree portraits demand the steadiest hand in this list because the thorny ornament and script background compete for attention with the figure itself.
I would check the line weight of the thorns against the hair before starting; too similar and the portrait dissolves into pattern, too different and the frame looks pasted on.
This density needs flat placement like the upper back or thigh where skin movement will not distort the fine intersections.
A single session would run long; plan for the stencil to fade before the outline finishes, and refresh the transfer rather than guessing where a thorn was supposed to meet a chain.
How to Create a Tattoo Stencil
Start with a clean line drawing, digital or hand-traced. Vector software keeps angles exact for geometric work; hand tracing on paper builds the muscle memory beginners need before they touch skin.
Either way, strip the design down to the outline that guides the needle. Weight the lines for the style: bold for traditional, fine for filigree.
Size it to the body area, not to what looked right on screen. A forearm and a thigh carry the same design differently; print a test sheet and hold it against the actual placement.
Thermal stencil paper gives the cleanest transfer, though a thermofax machine handles intricate designs with line weights that hand-copying smears.
Clean the skin, apply stencil gel, press the paper firmly, and let it set. Check alignment with a mirror before the first needle pass; this is the last chance to move the composition.
Importance of Tattoo Stencils
A tattoo stencil locks placement and proportion before any ink is permanent, which matters most where multiple elements must connect across 25–40 cm of curved arm surface. Without that planning, a sleeve reads as scattered pieces rather than one composition.
The stencil also gives the client a last look. They see the scale on their actual body, not an image on a screen, and can ask to shift or resize before the session starts.
For symmetrical or detailed work, freehand risks drift that the eye catches instantly; the guide line keeps both sides matching.
Best Practices for Using Stencils
Practice on high-quality fake skin, not fruit or silicone substitutes that react nothing like human tissue.
Focus on linework first; save those practice skins and return to them for shading and color only after the lines are steady. Splitting the skills speeds mastery.
For beginners, hand-drawn stencils of simple designs build control before you trust a machine to reproduce intricate work. The tracing itself is rehearsal: your hand learns the curve before the needle does.
Fine floral or filigree transfers more fragilely than bold traditional outlines, and a smudged stencil at the start costs correction time you do not have mid-session.
Frequently Asked Questions
How long will a tattoo stencil last?
A stencil fades during long sessions and needs refreshing rather than guessing where lines belong. For gothic filigree portraits, a single session runs long enough that the artist should plan to refresh the transfer before the outline finishes.
What makes a good tattoo stencil design?
A good stencil prioritizes clean, readable linework that stays visible as skin moves, balanced proportions that flow with body shape, sizing adjusted for the specific placement rather than what looked right on screen, and adequate negative space so the tattoo does not blur as it ages.
Traditional work wants thick, readable outlines; filigree wants hairline precision; geometry wants measured angles that do not drift.